A Comprehensive Guide to Using the Crimp Tool and Connector
Posted : 5-February-2024
In today’s fast-paced world of technology and connectivity, we cannot overstate the importance of properly crimping cables and connectors, including internet cable tips. Whether you’re a seasoned professional or a DIY enthusiast, having the right tools and know-how to crimp effectively is essential for ensuring secure and reliable connections in various applications, ranging from networking and telecommunications to automotive and aerospace industries.
Understanding the Basics of Crimping
Crimping is the process of joining two pieces of metal or other materials by deforming one or both of them to hold the other. It’s a widely used technique for creating electrical connections, particularly in situations where soldering is impractical or undesirable. The crimping process typically involves using a specialized tool called a crimp tool to compress a connector onto a wire, creating a mechanically secure and electrically conductive joint.
Choosing the Right Crimp Tool and Connector
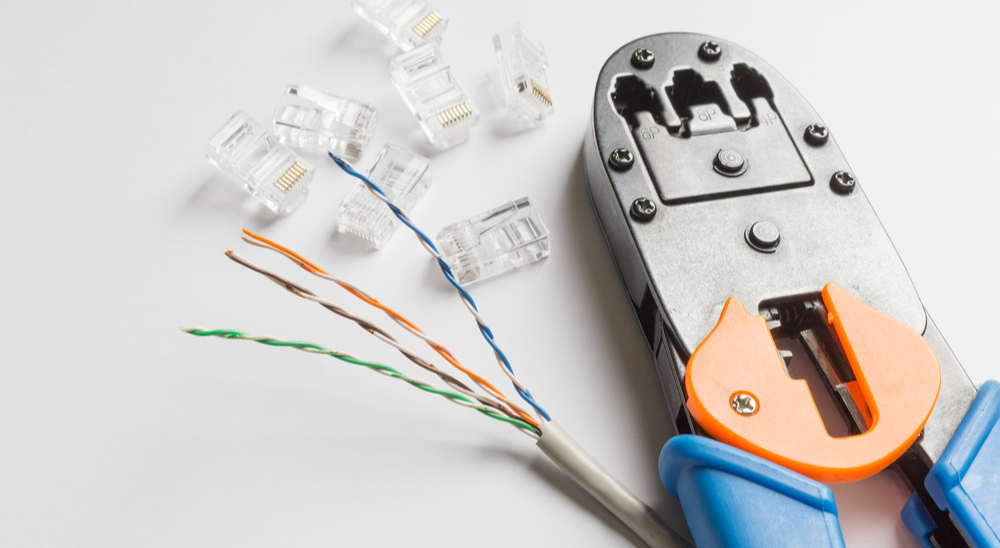
Discover the essentials of crimping with our comprehensive guide on crimp tools and connectors, as well as network tool kits. Selecting the appropriate crimp tool and connector for your specific application is crucial for achieving optimal results. There are various types of crimp tools and connectors available, each designed for different wire gauges and connector types. Factors to consider when choosing a crimp tool include the wire size, connector type, and application requirements.
Steps for Proper Crimping
Step 1: Prepare the Wire
Before crimping, it’s essential to properly prepare the wire by stripping off the insulation to expose the conductor. The length of the exposed wire should be appropriate for the connector being used, typically around 1/4 to 1/2 inch.
Step 2: Insert the Wire into the Connector
After preparing the wire, insert it into the connector until it reaches the appropriate depth. Ensure that the conductor is fully seated within the connector to ensure a secure connection.
Step 3: Position the Connector in the Crimp Tool
Position the crimp connectors with the inserted wire into the crimp tool, ensuring that they align correctly for crimping. Align the connectors with the crimping dies to ensure uniform compression.
Step 4: Crimp the Connector
With the connector properly positioned in the crimp tool, squeeze the handles of the tool firmly to compress the connector onto the wire. Apply enough pressure to achieve a tight and secure crimp, but be careful not to over-crimp, which can damage the connector or wire.
Step 5: Inspect the Crimped Connection
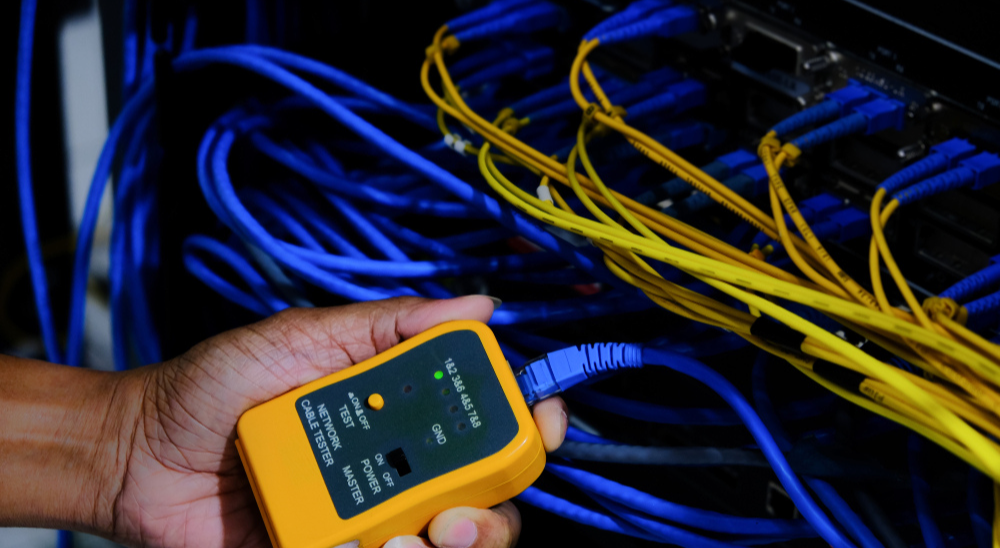
After crimping, visually inspect the connection to ensure that the connector is securely attached to the wire and that there are no signs of damage or deformation. Perform a tug test to verify the strength of the connection.
Benefits of Proper Crimping
Reliable Electrical Connections
Properly crimped connections provide a reliable electrical path with low resistance, ensuring efficient power transmission and signal integrity.
Mechanical Strength
Crimped connections offer excellent mechanical strength, resisting vibration, tension, and other environmental stresses better than soldered connections.
Versatility
Crimpers can use a wide range of conductor materials, including copper, aluminum, and various alloys, making it a versatile technique.
Time and Cost Efficiency
Compared to soldering, crimping is often quicker, easier, and more cost-effective, making it the preferred choice for high-volume production and field installations.
Conclusion
Mastering the art of crimping is essential for anyone working with electrical or electronic systems. By following the steps outlined in this guide and using the right tools and connectors for the job, you can ensure secure and reliable connections that meet the highest standards of quality and performance.
Latest Blog
-

Structured Cabling Standards For Commercial Buildings
Read More -
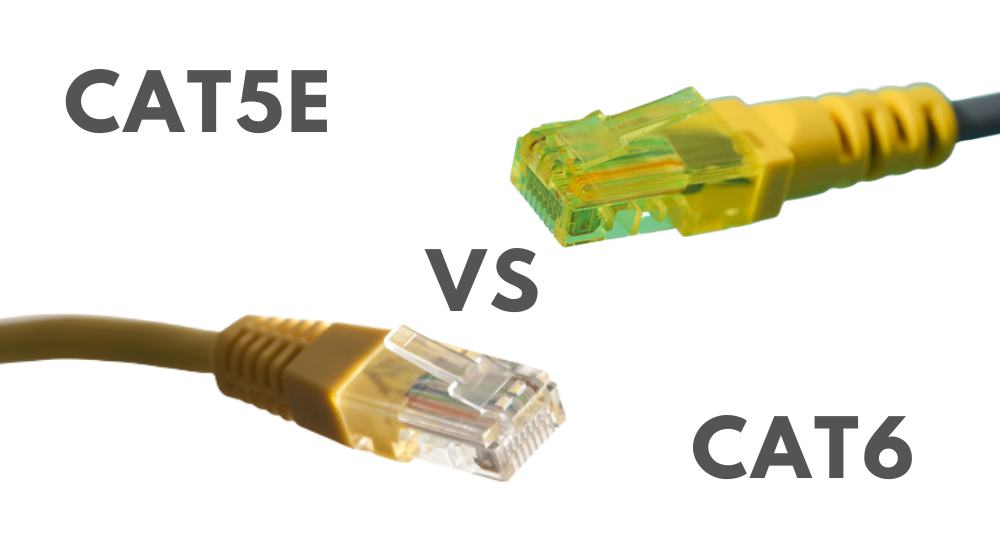
Evolution Of Ethernet Cables: Cat5e vs Cat6
Read More -
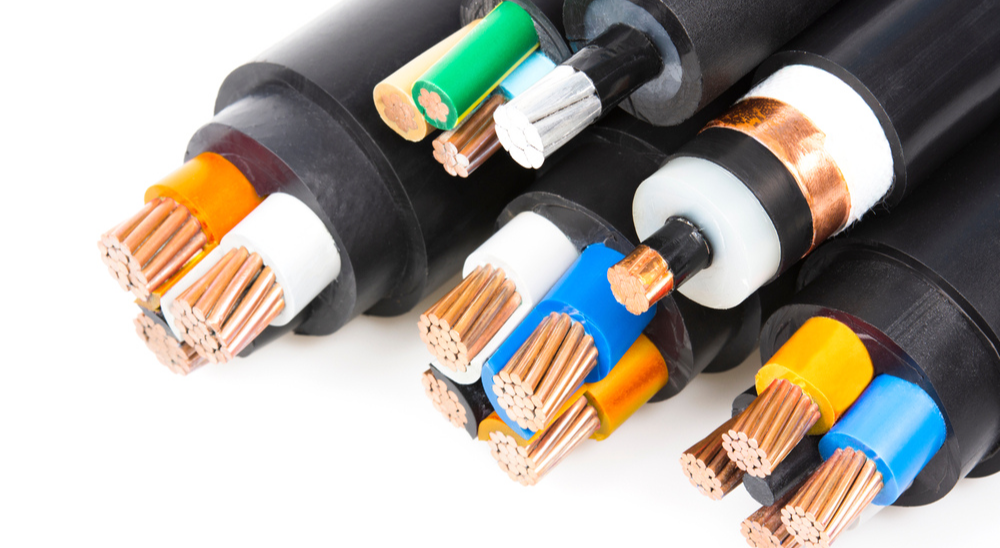
Select the Right Shielded Cable for your Network
Read More -
How To Decide on The Right Cables for Your Business Network
Read More -
What is Category 6 Cable?
Read More -
Why You Should Choose Cat6 Plenum Shielded?
Read More -
What Is Insulating Material in Cable?
Read More -
What Are The Cat5e And Cat6 Cable Testers?
Read More -
Best Internet Cables Tips You Need to Know
Read More -
What Is Network Tool Kit?
Read More